
Paper mache is cheap, messy and way fun! This brilliant concoction of just flour, water and old newspaper strips will produce a strong solid material that can be sanded, cut, drilled into, painted and waterproofed. Amazing!
*Paper Mache*
2 cup all-purpose flour
3-4 cups water
newspaper, torn or cut into small squares or strips
medium size balloons blown up
12-16 oz cups for drying
freezer paper to line table
To make the paper mache glue mixture:
(1) In a large container, add 2 cups of flour and 3 cups of water. Mix thoroughly until creamy, a consistency like pancake batter and regular Elmers glue. If it's too thick and pasty, add more water in small drips at a time to make more runny. To thicken, add more flour, a tablespoon at a time. Mix thoroughly to get rid of the clumps.
Applying the paper mache glue mixture to balloons to make a hollow spherical object:
(1) Blow up a balloon and tie the end.
(2) Tear up newspaper pages into small strips for a smoother application (the thin jagged edges). For a rougher finish and crisp look, use scissors to cut the newspaper into small 1-2 inch squares.
(3) Take a piece of newspaper and dip into the flour-water glue mixture (saturate the newsprint) and apply directly onto the balloon. Keep doing this until 1-2 layers of newspaper completely cover the balloon.
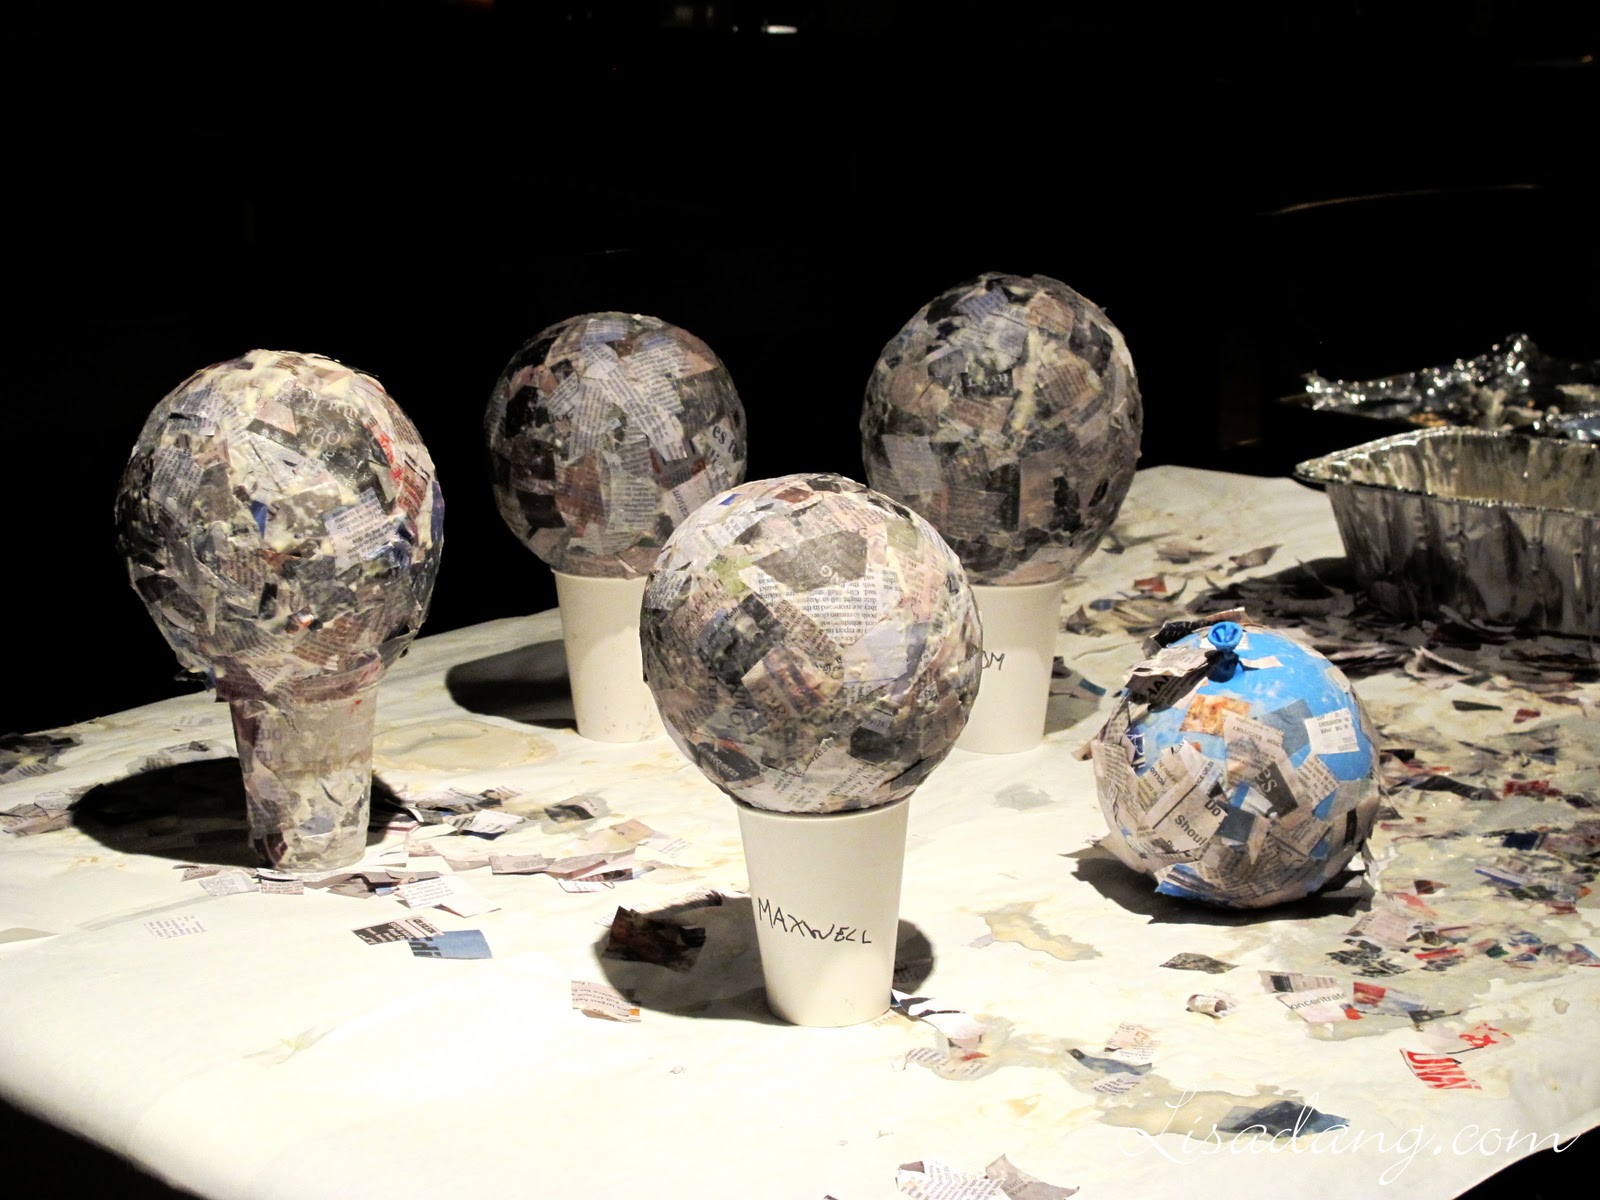
(4) Place the balloon, with the tie side down, on the open rim of the cup for drying. Allow the first application to dry completely before adding the second layer of newspaper. It must dry completely to prevent mold.
(5) Repeat the application until at least 3-4 layers of newspaper has covered the balloon. The first layer may take a few hours to dry (if you live in Utah where it's super dry). It's best to leave it overnight to dry and apply the next layers the next day.
I swear by this freezer paper from Costco, waterproof polyethylene coating on one side and white drawing paper on the other, ideal for all crafts and art projects. Disposable table covers make a crafty life so easy! Tape all the seams together to prevent any wet spills to damage your table. (When you are finished, just roll it all up and throw it away!)


In a large container, add 2 cups of flour and 3 cups of water. Mix thoroughly until creamy, a consistency like pancake batter and regular Elmers glue. If it's too thick and pasty, add more water in small drips at a time to make more runny. To thicken, add more flour, a tablespoon at a time. Mix thoroughly to get rid of the clumps.


Newspaper! For a smoother surface, tear the newspaper strips. For an edgy geometric look, cut newpaper into 1"-2" squares.

Max demonstrates with rubber gloves to avoid gooey sticky fingertips. He takes a strip of newspaper and dips, saturates, into the glue mixture.

Apply the wet gooey newspaper strips directly onto the balloon.


Each person develops their own style. Miriam soaks handfuls of newspaper strips at a time in glue. Then packs and pats it onto the balloon. Then she pours handfuls of glue directly onto the balloon, rubbing, pushing and squeezing glue into all the layers and crevices.

Yeah, it gets way messy. BUT if you have that wonder paper lining your table, you are all set. Clear the table and just roll up the liner carefully and throw it away. If you properly taped and sealed all the openings, you are all clean and safe!

A solid rock-hard surface can be obtained by applying at least 4 layers of newsprint between generous layers of glue. We packed on at least 3 layers at one sitting. Allow these spheres to dry overnight.

When they are completely dry, pop the balloon. Now you have a hard, strong, solid, hollow, spherical object that can be sanded, drilled into, painted and waterproofed.

Coming soon to a nearby post...the final pieces ;)

Earlier, my little rippers Miriam and Michael kill it at PCMR.


xoxo
No comments:
Post a Comment